
HytaleConnect.net – Server Integration Guide
This guide explains how to add your Hytale server to HytaleConnect.net, verify domain ownership, and link your live game server using the official integration plugin.
Notes
The source code of our Server Integration Plugin / Mod is publicly available.
You can view it on GitHub or compile it yourself:
HytaleConnect Integration Plugin
Prerequisites
Before you start, make sure you have:
- An account on HytaleConnect.net. There’s no traditional registration - when you click My Servers, you’ll be prompted to sign in via Discord or a magic link, and your account is created automatically.
- Access to your domain DNS settings (e.g. Cloudflare)
- A running Hytale server and permission to install server mods/plugins on it
Part 1: Adding Your Server Domain
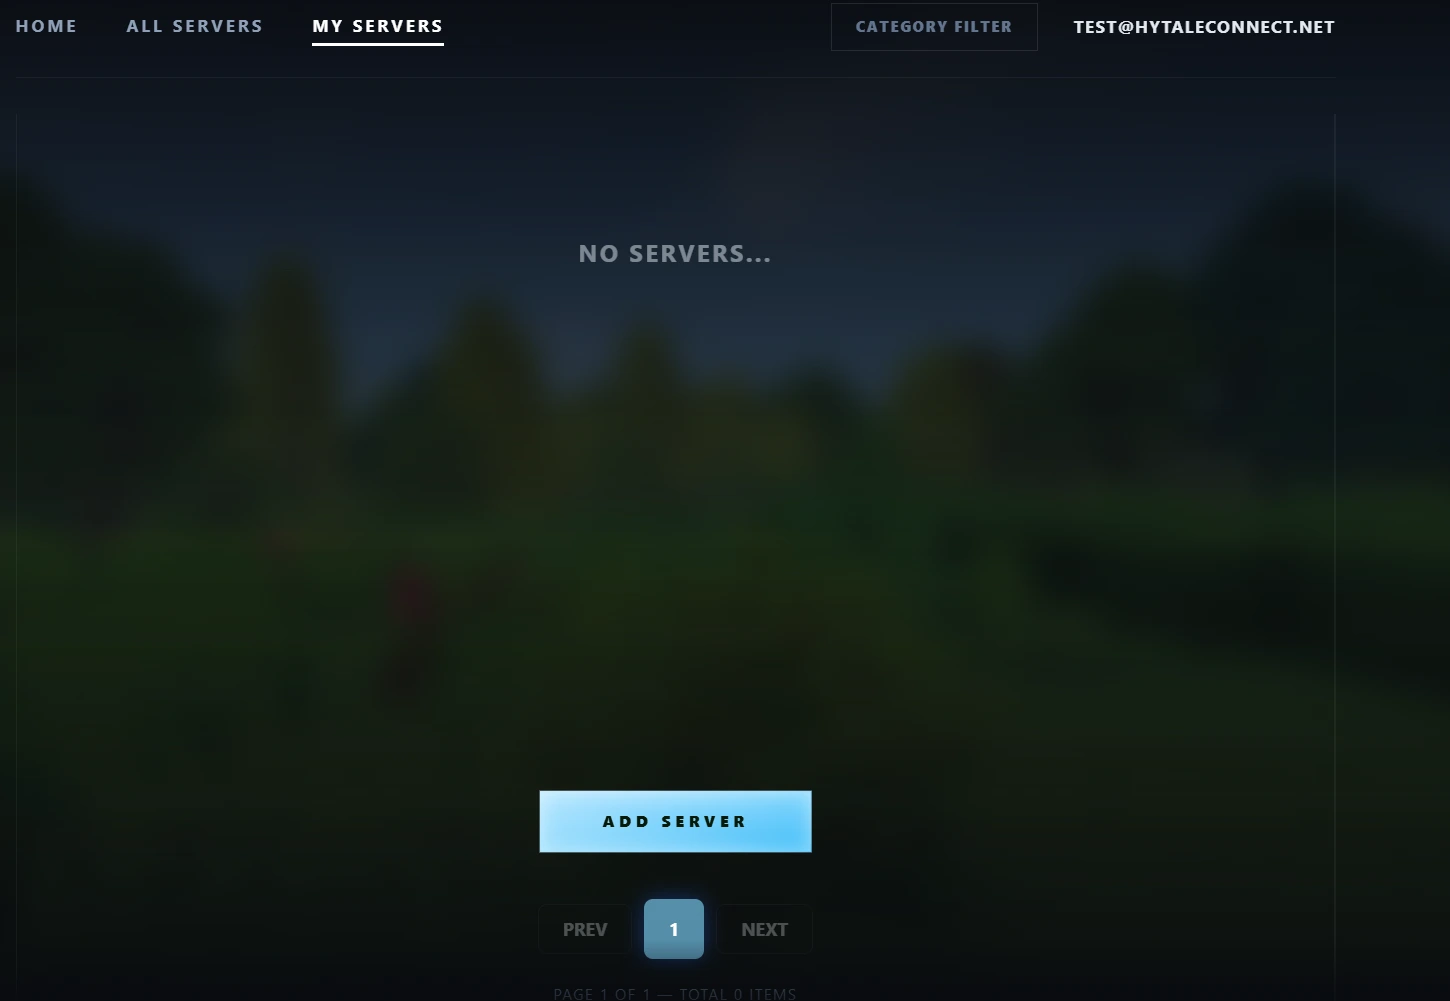
Step 1: Open My Servers
Go to the My Servers section:
- Click My Servers in the navigation bar
- or open directly by clicking here
Step 2: Add a New Server
Click the Add Server button.
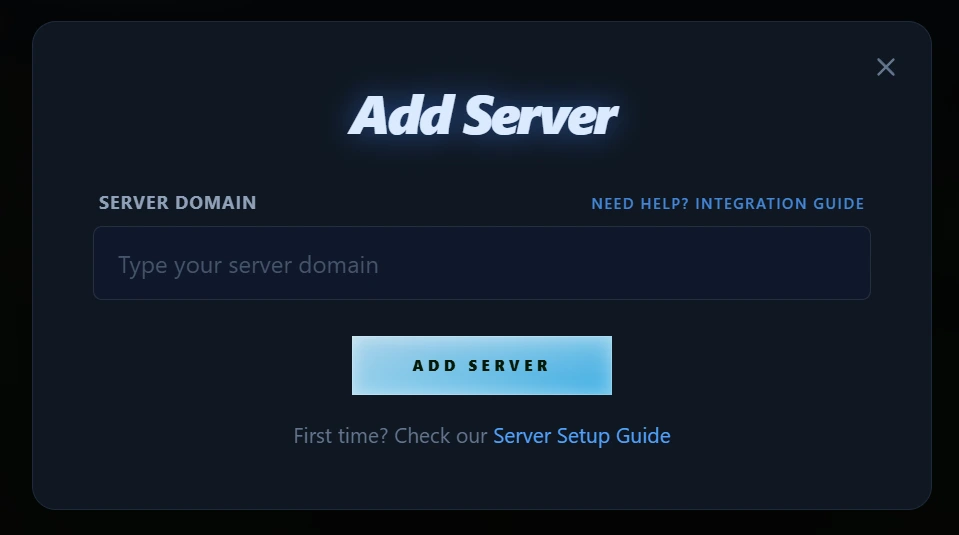
Step 3: Enter Your Server Domain
In the popup window:
- Enter your Hytale server domain
(e.g.play.yourserver.com) - Click Add Server
Part 2: Verifying Domain Ownership (DNS)
To confirm that you own the domain, DNS verification is required.
Step 4: DNS Verification
After adding the server, the Verify Ownership window will appear.
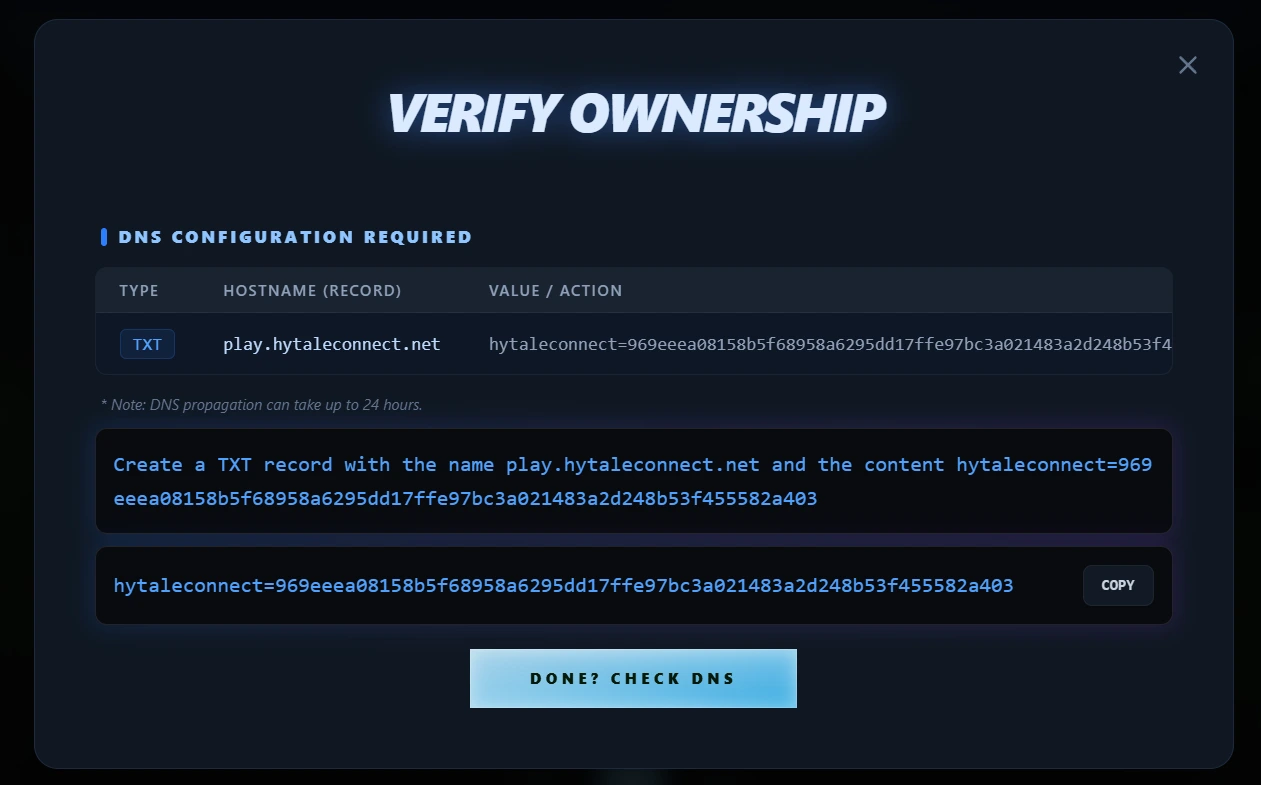
You will be asked to create a TXT DNS record.
Example: Cloudflare DNS Configuration
4.1 Open DNS Records
In Cloudflare:
- Go to DNS → Records
- Click Add record
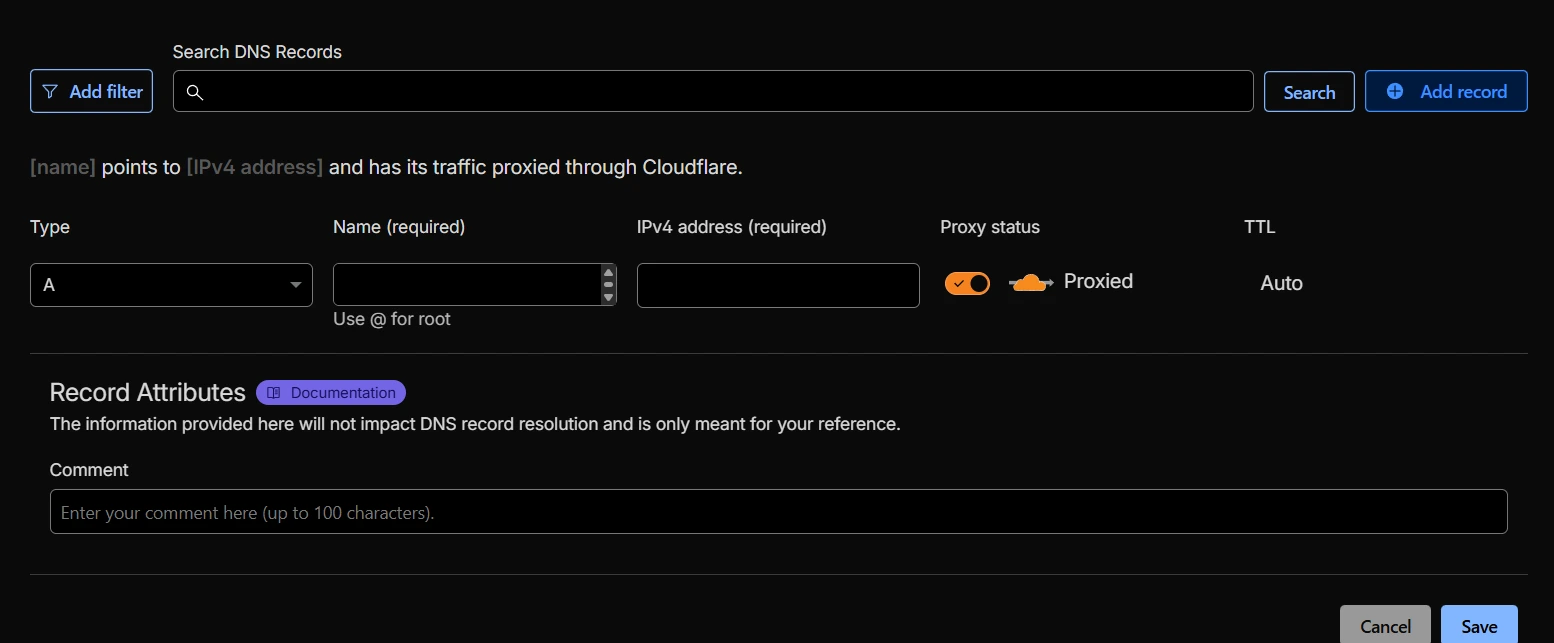
4.2 Configure the TXT Record
Fill the fields exactly as shown on the HytaleConnect page:
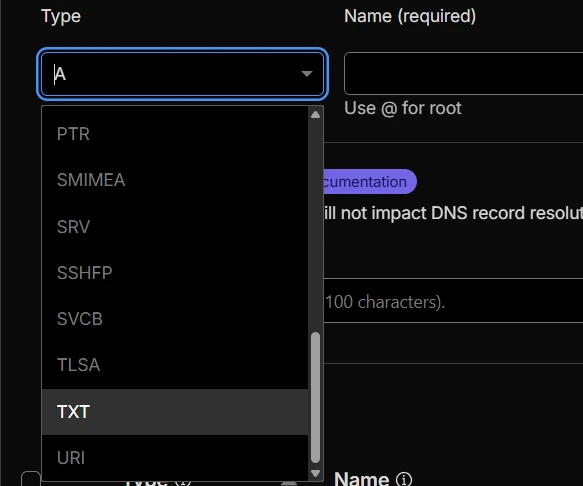
- Type:
TXT - Name: value from Hostname (record)
Example: play.hytaleconnect.net - Content: value from Value / Action
Example: hytaleconnect=969eeea08158b5f68958a6295dd17...
Save the record.
⚠️ DNS propagation can take up to 24 hours, but usually completes much faster.
Step 5: Check DNS Verification
Return to HytaleConnect.net and click:
Done? Check DNS
If the record is correct and propagated, verification will complete automatically.
Part 3: Linking Your Hytale Server (Integration Plugin)
To connect your live Hytale server to the domain, you must install the official integration plugin.
Download the Plugin
Download the HytaleConnect Integration Plugin:
https://github.com/HytaleConnect/hytaleconnect-integration-plugin/releases/download/latest/hytaleconnect-integration-plugin.jar
Step 6: Install the Plugin
- Upload hytaleconnect-integration-plugin.jar into your server’s
modsfolder - Start the server
Step 7: Obtain the Server Token
After launching the server, navigate to: mods/net.hytaleconnect_hytaleconnect-integration-plugin/
Open the file: server-token.txt
Copy the entire contents - this is your Server Token.
Step 8: Link the Server in HytaleConnect
- Open My Servers
- Click the server you want to link
- Go to the Subservers tab

- Click Add new node
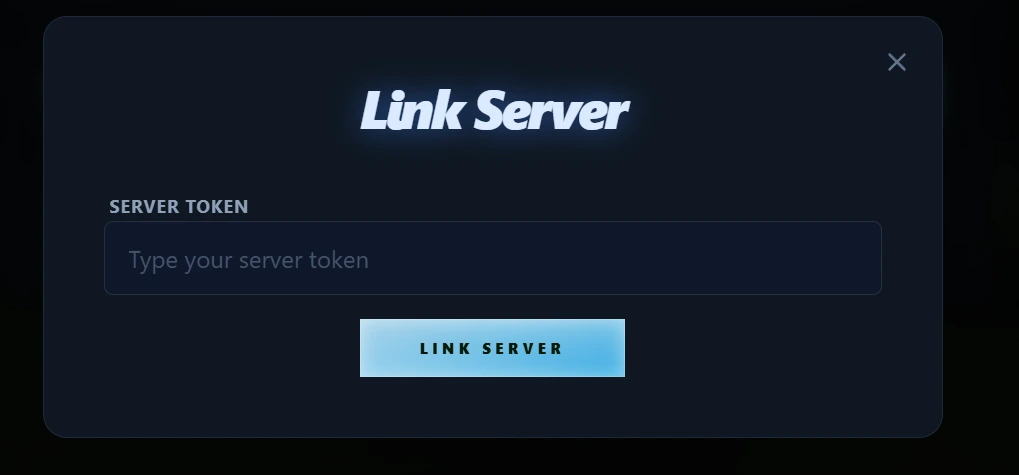
Step 9: Enter the Server Token
In the Link Server popup:
- Paste your Server Token
- Click Link Server
That's it! 🥳
Your Hytale server is now:
- Verified via DNS
- Successfully linked to HytaleConnect.net
- Visible and manageable from the dashboard
Troubleshooting
DNS verification fails
- Ensure the TXT record name and value are exactly identical
- Wait up to 24 hours for DNS propagation
- Make sure there are no extra spaces
Server does not link
- Verify the plugin is inside the correct
modsfolder - Restart the server after installing the plugin
- Regenerate the token by deleting the plugin folder and restarting
Need Help?
If you encounter issues:
- Double-check each step carefully
- Contact us via the community Discord here